Enhance Location-Based Capabilities with Geofencing in t6 IoT Platform
Geofencing is a powerful feature within the t6 IoT platform that revolutionizes location-based capabilities. By creating virtual boundaries around specific locations using perimeter area zones, t6 geofencing empowers you to streamline operations, improve security, and deliver personalized experiences.
Tagged on #recipe, #rules, #geofencing,
In this tutorial, we will explore how to leverage geofencing within the t6 IoT platform, step-by-step, and harness its potential to transform the way you interact with your IoT applications.
Step 1: Understanding Geofencing in t6 IoT
Before diving into the tutorial, it’s helpful to have a solid understanding of the geofencing concept. If you’re new to geofencing or would like a refresher, we recommend checking out our dedicated blog post on Geofencing Explained. This comprehensive guide will provide you with a deeper insight into the principles and benefits of geofencing.
Now, let’s proceed with the tutorial and explore how to set up and utilize geofencing in the t6 IoT platform.
Step 2: Setting Up Geofencing in t6 IoT
To begin using geofencing, you need to set up geolocalized Objects within the t6 IoT platform. These Objects represent the physical locations you want to create boundaries around. You can define them by specifying the longitude and latitude coordinates. Once the Object is created, you can proceed to configure the associated rules that will be triggered based on proximity to these locations.
Step 3: Integrating Datapoints with Geofencing
To make use of geofencing, you need to integrate datapoints with the geolocalized Objects. When posting a datapoint, include the uuid-v4 of the corresponding Object as a reference in the payload. Additionally, provide the longitude and latitude values associated with the datapoint. These values will be used to calculate the distance between the Object and the datapoint.
Step 4: Implementing Geofencing Actions

Geofencing on t6
In this sample cURL, the payload contains :
- a
datatype_idrefering to a Float; - a
unitrefering to Meter(s) - because geofencing is calculating distance in meters; - a
metanode information to set specific metadata; - an
object_idso the geofencing can calculate the distance relative to that specific Object; - a
longitudeandlatitudefrom the actual current location - this position will be used for distance calculation; - a
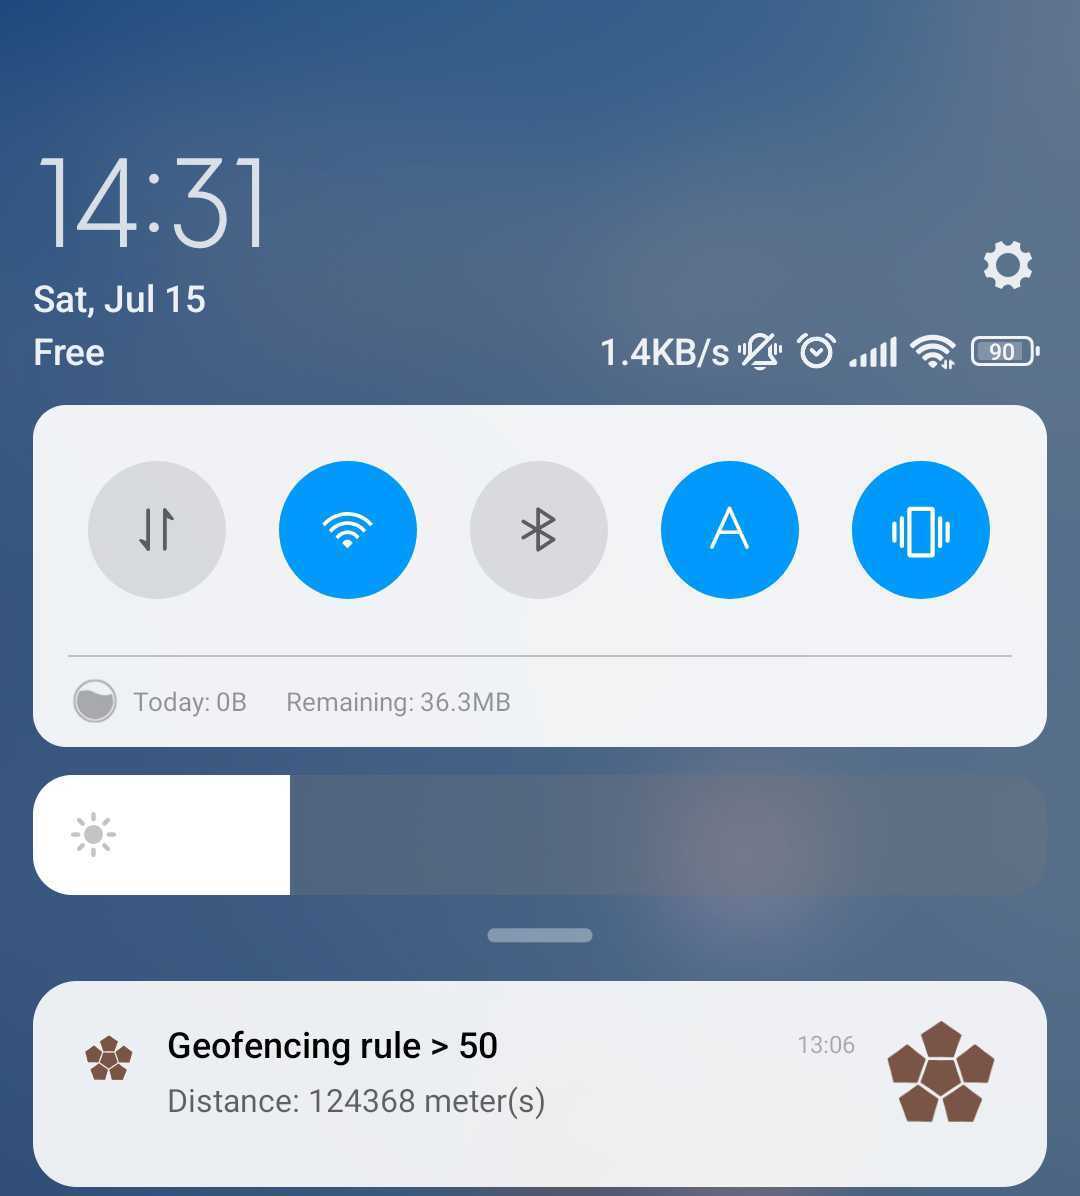
Ruleusing a webPush event trigger when rule matches - meaning whendistanceGreaterThanthe 50 meters threashold;
curl --location "https://api.internetcollaboratif.info/v2.0.1/data/" \
--header "Content-Type: application/json" \
--header "Accept: application/json" \
--header "Authorization: Bearer ey[redacted]ry7XVo8lOA" \
--data "{
    \"value\": -1.0,
    \"datatype_id\": \"e7dbdc23-5fa8-4083-b3ec-bb99c08a2a35\",
    \"meta\": {
        \"foo\": \"bar\"
    },
    \"save\": false,
    \"flow_id\": \"fakeFlowForGeofencing\",
    \"retention\": \"retention1w\",
    \"unit\": \"26a4be78-1c02-4a41-acc1-14d8e6b29a84\",
    \"publish\": true,
    \"longitude\": -117.98329726717841,
    \"latitude\": 35.06649625390798,
    \"object_id\": \"1388fc2d-eaf8-4a73-9506-8519b4a7ec2b\",
    \"rules\": [
        {
            \"conditions\": {
                \"all\": [
                    {
                        \"fact\": \"flow\",
                        \"operator\": \"equal\",
                        \"value\": \"fakeFlowForGeofencing\"
                    },
                    {
                        \"fact\": \"value\",
                        \"operator\": \"distanceGreaterThan\",
                        \"value\": \"0\"
                    }
                ]
            },
            \"event\": {
                \"type\": \"replaceWithDistance\",
                \"params\": {}
            },
            \"priority\": \"1\"
        },
        {
            \"conditions\": {
                \"all\": [
                    {
                        \"fact\": \"flow\",
                        \"operator\": \"equal\",
                        \"value\": \"fakeFlowForGeofencing\"
                    },
                    {
                        \"fact\": \"value\",
                        \"operator\": \"distanceGreaterThan\",
                        \"value\": \"50\"
                    }
                ]
            },
            \"event\": {
                \"type\": \"webPush\",
                \"params\": {
                    \"title\": \"Geofencing rule > 50\",
                    \"body\": \"Distance: {distance} meter(s)\",
                    \"icon\": \"/img/m/icons/icon-128x128.png\",
                    \"actions\": [],
                    \"tag\": \"t6notification\",
                    \"vibrate\": \"\"
                }
            },
            \"priority\": \"2\"
        }
    ]
}"
Step 5: Customizing Geofencing for Your Use Case
Fine-tune the geofencing feature to fit your specific use case. Adjust the thresholds, conditions, and actions within the rules to align with your requirements. By customizing geofencing, you can create tailored experiences and automate processes that are unique to your application.
Conclusion
Geofencing in the t6 IoT platform offers a powerful toolset for leveraging location-based capabilities. By creating virtual boundaries, integrating datapoints, and implementing custom actions, you can enhance operational efficiency, improve security, and deliver personalized experiences. Embrace the potential of geofencing and take advantage of the t6 IoT platform to unlock the full power of location-based automation.
We hope this tutorial has provided you with valuable insights and guidance on implementing geofencing within the t6 IoT platform. Experiment with different use cases, iterate, and explore the possibilities that geofencing offers. For further information and support, refer to our documentation and reach out to our dedicated support team.
Discover the endless possibilities of location-based automation with geofencing in the t6 IoT platform and transform the way you interact with your IoT applications.
Tagged on #recipe, #rules, #geofencing,